Coloring your hair at home can be a quick, affordable alternative to making an appointment at the salon. However, hair dye can be extremely damaging, especially when it is not applied properly. Beyond that, you can easily end up with less-than-perfect results if you’re not careful. Luckily, there are extra steps you can take to prevent as much damage as possible and make sure you achieve the best, most vibrant color results possible without having to redo the whole thing once you’re done. The following are considerations for coloring your hair at home.
Choosing Your Hair Dye
The first step in your home hair-color journey is selecting your hair dye. This can be a daunting task, given the barrage of similar-looking boxes on the shelf at your local drug store. According to colorist Dana Ionato, “The color always ends up lighter than the model’s hair on the packaging.” With this in mind, be extra mindful in selecting your dye. Consult with a professional hair stylist or even a friend about what shade would look best on you. Identifying your undertones is a great first step if you’re not sure what shade you’re trying to achieve.
It’s also important to check the description of the shade before you decide. For example, if you are looking for a cooler shade, look for words like “ash” and “platinum.” Boxes labeled “golden” will bring in brighter, yellowish tones, while “neutral” often implies a blue base. If you are looking to match your current shades or fix up your roots, hold up a strand of your hair against the swatch panel on the back or side of the box. You might want to purchase two boxes if your hair is especially thick or long.
Dress Appropriately
Hair color can easily stain your clothes, regardless of how light or dark the shade is. Before you get started, put on an old robe or other button-front shirt so that you do not have to lift if off over your head when it is time to rinse the dye out. Make sure not to use any towels or other materials that you are worried about staining in the process.
Protect Your Skin
Dye can be extremely irritating to skin. Make sure to put on the plastic gloves included in the box or use your own before applying your dye. You can also use clear lip balm along your hairline and around your ears to keep the skin from becoming streaky or drying out.
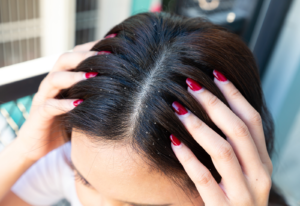
Section the Hair
When you are ready to get started, you will want to begin by making sections. This should be a bit easier with unwashed hair, which is preferable anyway when it comes to color treatment since natural oils can protect your strands. Start with a middle part running from the front to back of your head and then create four even sections – two in front of your ears and two behind. This is an important part of avoiding a patchy look.
Roots vs. Full Head
If you have had your hair colored in the past, you may simply be trying to cover up your natural roots that have grown in since your last treatment. In that case, plan to focus the hair color only on the root area. Hair dye is damaging, and if you can spare your ends, you should. When the ammonia in hair dye makes contact with hair, it lifts the cuticle up to let the dye molecules in, causing breakage. The peroxide removes the natural color, making room for new pigment. These chemicals interact with the healthy keratin and protein that hair needs to be strong and can cause the hair to become dry and brittle. If you only need to color a few sections or your roots, create your sections with this in mind.
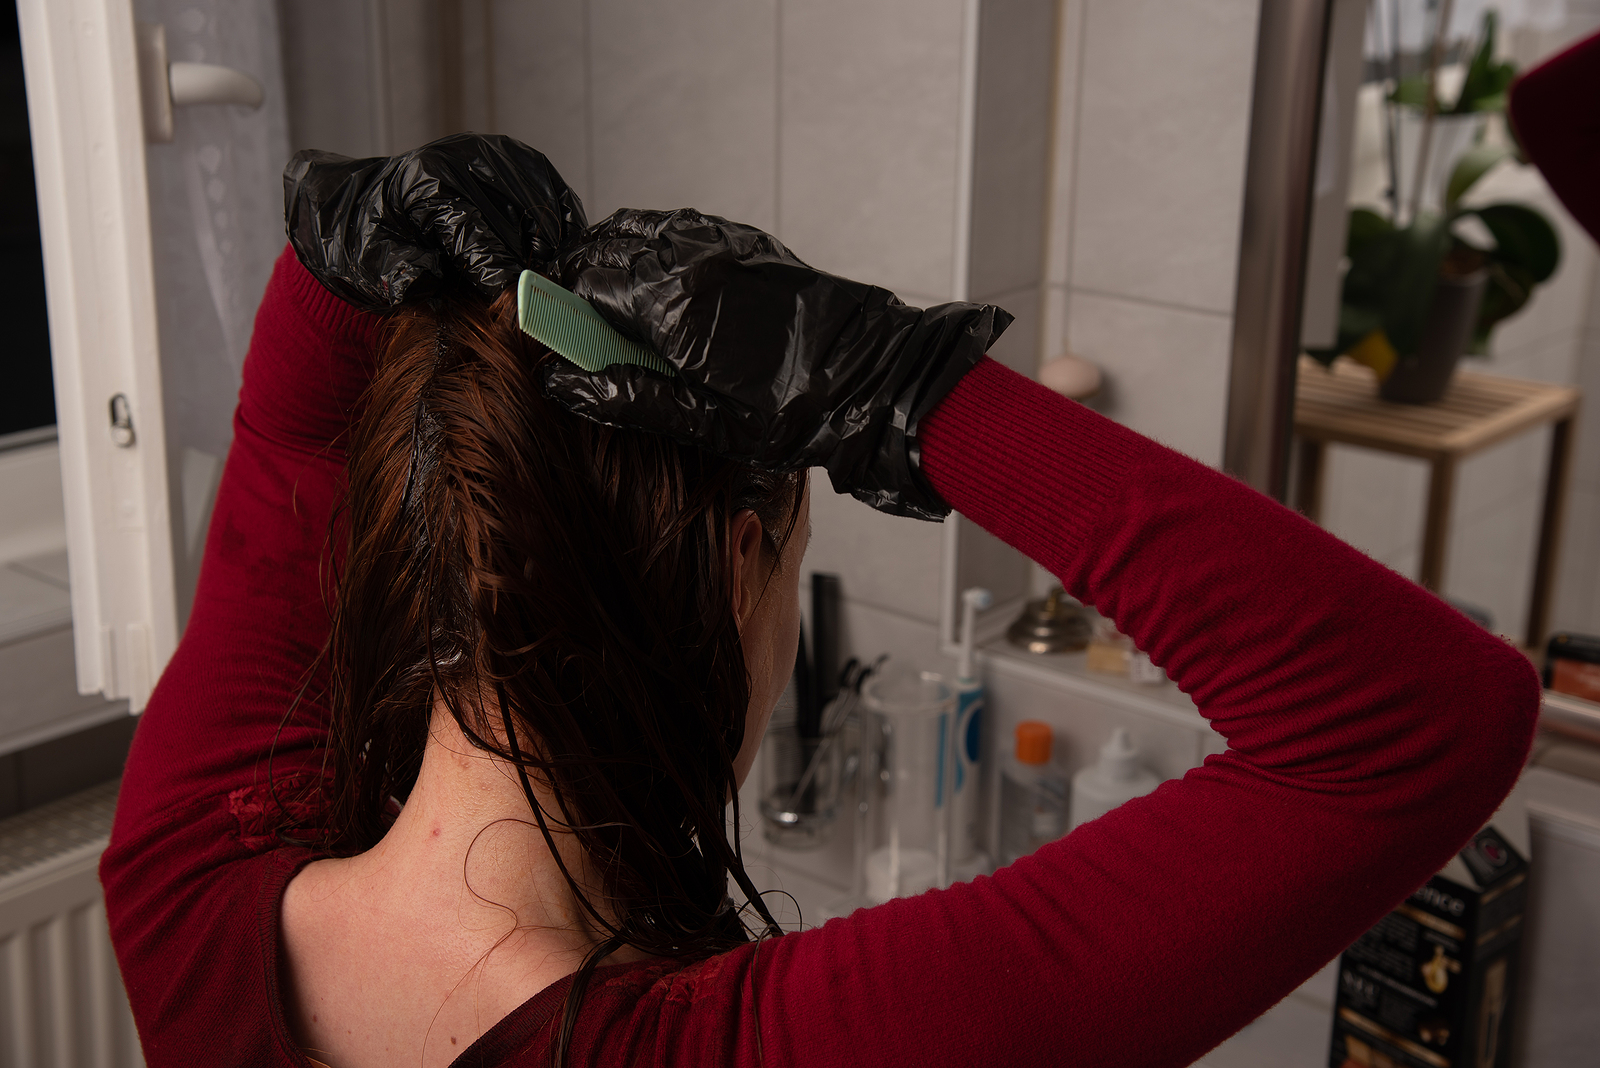
Apply the Dye
Once you have applied your dye, you can cover your head with a swim cap or leave it down on around your shoulders. You should not put it into a ponytail, bun, or clip, as this can cause unevenness. Wait for the amount of time advised in the instruction packet. Once it’s time, rinse the dye out according to the packet and use the conditioner included in the kit. If you do not use conditioner immediately, it leaves the follicles open, and the dye will continue to develop. This can lead to a much darker color than intended. Use a deep conditioner or a hair mask and give it some time to restore some moisture. If you are bleaching your hair, invest in a purple conditioner to get a cool, non-brassy tone. Between treatments, make time to use hydrating treatments and incorporate shampoo and other products formulated for color-treated hair into your regular routine to keep your color bright and vibrant for as long as possible.
Use and Bowl and Brush
If you have had your hair dyed in a salon by a professional, you know they paint the dye on rather than squeeze it from a bottle. Pick up a bowl and brush and mimic this technique for even less messy results.
Rinse and Condition
Once you have applied your dye, you can cover your head with a swim cap or leave it down around your shoulders. You should not put it into a ponytail, bun, or clip, as this can cause unevenness. Wait for the amount of time advised in the instruction packet. Once it’s time, rinse the dye out according to the packet and use the conditioner included in the kit. If you do not use conditioner immediately, it leaves the follicles open, and the dye will continue to develop. This can lead to a much darker color than intended. Use a deep conditioner or a hair mask and give it some time to restore some moisture. If you are bleaching your hair, invest in a purple conditioner to get a cool, non-brassy tone. Between treatments, make time to use hydrating treatments and incorporate shampoo and other products formulated for color-treated hair into your regular routine to keep your color bright and vibrant for as long as possible.
Contact Us
If you are interested in changing your hairstyle, contact Eldorado today. Our experts can help you achieve a new look that makes you feel confident and happier with your appearance overall. Call 410-931-6077 to get started.